High mast light repair tips are the single best resource you can have when a 100-foot industrial light pole suddenly decides to go completely dark right in the middle of peak commercial logistics operations. Staring up at a massive circular luminaire head at 2:00 AM while ocean wind gusts howl through the structure feels less like routine facility maintenance and more like attempting to service a lighthouse during a severe winter gale. Fortunately, troubleshooting these high-reach commercial lighting structures does not require a doctorate in aerospace engineering—just a disciplined, step-by-step approach to ground-level electrical diagnostics, mechanical lowering ring safety, and fixture component isolation.
CRITICAL STAT & KEY TAKEAWAY
According to updated 2026 commercial infrastructure management statistics, over 68% of high mast lighting outages are caused by failed ground-level photocells, tripped main contactors, or damaged terminal wiring at the pole base—rather than burnt-out luminaire modules at the top. Always complete full electrical diagnostics at grade level before deploying mechanical lowering units or heavy equipment.
To systematically troubleshoot and repair high mast lighting assemblies, facility engineers must first verify incoming power at the base control panel, bypass photocell and timer controllers to isolate logic faults, inspect and operate the mechanical winch lowering mechanism, and systematically test individual LED drivers or ballast circuits. Adopting a proactive maintenance routine prevents costly facility downtime, protects site security, and eliminates unnecessary emergency equipment rental expenses.
Quick Diagnostic Matrix: Commercial High Mast Troubleshooting
| Observed Symptom | Likely Root Cause | Recommended Action |
|---|---|---|
| Entire fixture ring remains unlit | Main breaker trip, faulty contactor, or photocell failure | Test voltage at base disconnect; cover or bypass photocell sensor |
| Single fixture dark on multi-light ring | Failed LED driver, blown SPD, or loose wiring connector | Lower ring to grade; measure DC voltage output from driver |
| Fixtures strobing or rapidly cycling | Overheating LED driver or misaligned optical photocell | Clean sensor lenses; check driver heat sink for thermal shutdown |
| Lowering ring binding or traveling unevenly | Frayed winch cable, worn guide rollers, or uneven tension | Halt winch immediately; inspect internal cable tracks and pins |
Table of Contents
- 1. Deconstructing the Commercial High Mast Lighting Assembly
- 2. Essential High Mast Light Repair Tips: Step-by-Step Diagnostic Protocol
- 3. Lowering System Maintenance & Mechanical Safety Protocols
- 4. Commercial Light Pole Troubleshooting for Drivers, Ballasts & Controls
- 5. Preventive Maintenance Schedules & Long-Term Facility ROI
- 6. Frequently Asked Questions
1. Deconstructing the Commercial High Mast Lighting Assembly
High mast lighting structures are formidable pieces of industrial infrastructure specifically engineered to flood massive physical areas with high-footcandle illumination. You will typically find them standing tall over seaports, rail yards, highway interchanges, airport aprons, and large commercial distribution centers. Unlike standard 20-to-30-foot parking lot poles, high mast systems range from 50 to over 150 feet in height and support circular or head-frame assemblies carrying between 4 and 16 high-wattage luminaire heads.
Because free-climbing a 120-foot steel pole every time a floodlight flickers is a disastrous career strategy, modern commercial high-mast setups feature specialized lowering gear. These internal or external winch systems allow service crews to safely lower the entire fixture ring down to chest height for ground-level maintenance. Understanding how these mechanical and electrical components interact is vital before attempting any repairs.
The primary sub-assemblies inside a standard commercial high mast light installation include:
- The Steel Pole & Structural Anchor Assembly: Multi-sided, tapered galvanized steel sections designed to absorb extreme wind loads, severe vibrations, and thermal flexing.
- The Luminaire Ring & Head Frame: The heavy structural ring housing floodlight fixtures, junction boxes, wiring harnesses, and guide rollers.
- The Winch, Cable & Latching Mechanism: Stainless steel hoisting cables, worm-gear winches, internal power cords, and mechanical latching barrels that lock the ring at the top.
- Ground-Level Control Enclosure: Circuit breakers, lighting contactors, surge protective devices (SPDs), terminal strips, and photocell relays inside the base handhole.
When any component inside this multi-layered ecosystem breaks down, entire outdoor operating zones can be plunged into darkness. Diagnosing these complex multi-wire circuits often warrants the expertise of certified teams specializing in professional high-reach electrical solutions to maintain complete site compliance and structural integrity.

2. Essential High Mast Light Repair Tips: Step-by-Step Diagnostic Protocol
Approaching commercial light pole troubleshooting without a structured, logical process is a direct path to wasted effort. You can easily spend four hours disassembling ground junction boxes only to discover that someone flipped a master override switch in an adjacent warehouse. Following a systematic diagnostic workflow saves valuable operational hours and keeps your facility safe.
When troubleshooting high mast lighting outages, execute your testing sequence in the following order:
Step 1: Ground Base Visual & Electrical Inspection
Begin your diagnostic routine right at the base access door (handhole). Inspect the internal wiring harness for signs of electrical overheating, arcing, loose terminal block screws, standing water accumulation, or pest infestation. Utilizing a digital multimeter rated for commercial voltages, check for phase-to-phase and phase-to-ground voltage across the line side of the main disconnect breaker.
If full operating voltage (typically 277V or 480V) is present at the main line terminals, but zero voltage passes to the upper power cord disconnect plug, your failure is isolated to a tripped breaker, a blown inline fuse, or a failed magnetic contactor switch.
Step 2: Control Logic, Photocell & Timer Testing
Photocells and automated energy management controls are notoriously susceptible to environmental degradation, storm damage, and lens fogging. To test the photocell relay, cover the optical eye with black electrical tape or a light-blocking cap to simulate nighttime conditions. Allow 60 to 120 seconds for the internal thermal switch to engage.
If the magnetic contactor fails to energize, jump the control terminals directly to bypass the photocell sensor. If the fixtures immediately light up upon bypassing, you have successfully isolated a faulty photocell sensor without having to lower the luminaire assembly.
Step 3: Mechanical Lowering Ring Disconnect & Operation
Once you verify that power is flowing correctly through the base controls but failing to illuminate the upper light ring, it is time to bring the ring down. Unplug the main power feeding cord at the base disconnect receptacle. Attach your portable motor drive unit to the internal worm-gear winch, ensure all safety locking pins are removed, and initiate lowering.
MECHANICAL WINCH SAFETY MANDATE
Never stand directly beneath a high mast luminaire ring during mechanical lowering or hoisting operations. Stainless steel cables operating under high tension can snap if guide rollers bind or if shear pins fail. Always maintain a clear safety perimeter equal to at least half the pole height during motorized ring movement.
Step 4: Individual Driver, Ballast & Module Testing
With the luminaire ring resting safely on ground support legs, restore temporary power to the lowered ring using a tested extension harness. Identify which individual fixtures remain dark or flicker. Open the waterproof driver enclosure on dead units and measure both the incoming AC voltage and the outgoing DC voltage supplying the LED module array.
If incoming AC power is confirmed but outgoing DC voltage reads zero, the LED driver has experienced internal component failure. If DC voltage output matches manufacturer specification but the LEDs remain unlit, an open circuit exists within the LED module circuit board itself.
Step 5: Structural & Hardware Inspection
While the head frame is lowered, perform a complete mechanical sanity check. Inspect all fixture mounting brackets, stainless steel bolts, junction box gaskets, and optical lenses. Check for corrosion, vibration-induced loosening, and moisture ingress that could compromise future reliability.
Step 6: Reassembly, Hoisting & Latching Verification
After completing all electrical repairs and component replacements, disconnect temporary ground power. Hoist the luminaire ring back up the pole barrel using the motorized winch unit. Pay close attention as the ring approaches the top head frame—verify that the mechanical latching flags engage fully to transfer structural weight off the winch cables onto the top support pins.
3. Lowering System Maintenance & Mechanical Safety Protocols
Applying effective high mast light repair tips requires equal parts electrical know-how and mechanical respect. High mast lowering mechanisms are mechanical marvels right up until a rusted winch cable binds, making noises reminiscent of a creaking gale-driven galleon. Executing strict lowering system maintenance keeps these heavy-duty winches operating smoothly and safely year after year.
Before initiating any lowering cycle on an industrial light pole, run through this critical safety checklist:
- Erect safety cones and caution tape to establish a 50-foot clear work zone around the base of the structure.
- Verify that all technicians are wearing appropriate personal protective equipment (PPE), including hard hats, safety glasses, steel-toe boots, and leather work gloves.
- Inspect the stainless steel winch cable for evidence of fraying, kinked strands, severe surface corrosion, or bird-caging.
- Check winch oil levels and inspect internal drive gears for chipped teeth, excessive lash, or sheared safety pins.
- Connect remote control pendant cables so the technician operates the winch motor while standing at least 15 to 20 feet away from the pole base.
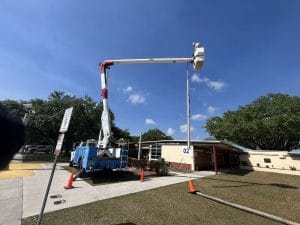
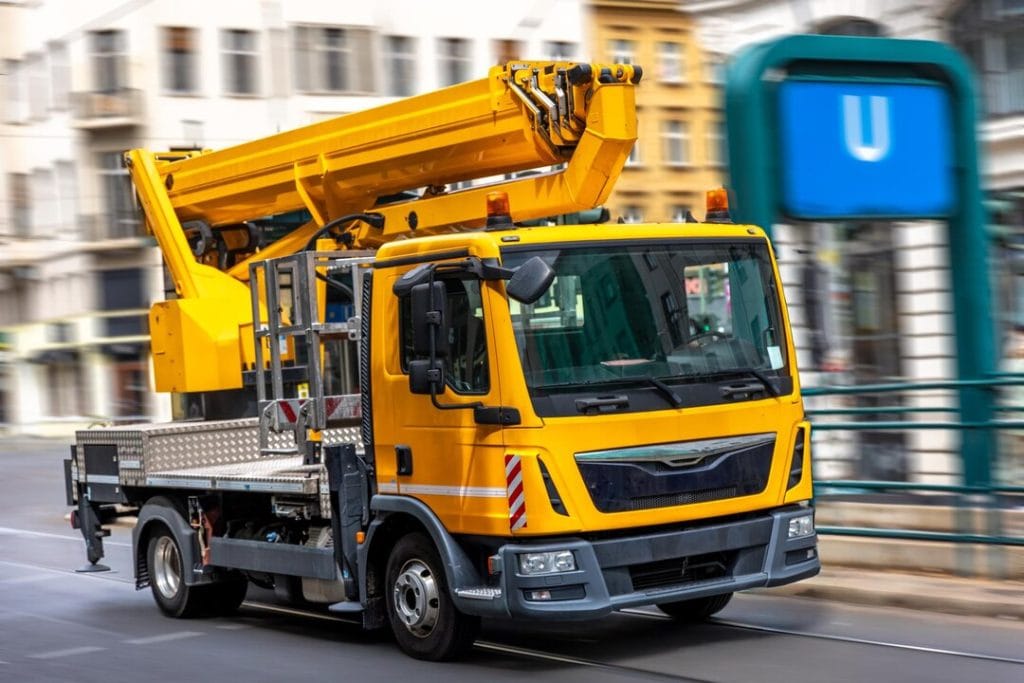
If a lowering ring locks up mid-travel due to cable binding or track obstruction, never attempt to force the motor drive. Applying excessive torque under jammed conditions can break cables or pull structural mounting arms out of alignment. In situations where lowering systems are damaged or jammed overhead, facility operators must deploy specialized hydraulic lifts or specialized parking lot lighting repair equipment to access fixtures safely.
Adhering strictly to federal safety mandates is essential during all elevated electrical and lift work. Facility managers should reference official regulatory guidelines such as OSHA aerial lift and fall protection safety standards to ensure every maintenance procedure meets strict legal safety requirements.
4. Commercial Light Pole Troubleshooting for Drivers, Ballasts & Controls
Once the luminaire ring is down and mechanically secured on its ground stands, troubleshooting shifts from mechanical rigging to high-voltage electronics. Modern high mast lighting arrays utilize high-efficiency industrial LED floodlights powered by internal or external constant-current drivers. Legacy installations may still feature heavy metal halide or high-pressure sodium ballasts, ignitors, and capacitors.
When executing targeted commercial light pole troubleshooting on failing electronic drivers, keep these practical principles in mind:
Voltage Drop Considerations: Because power cables run 100 to 150 feet up the inside of the steel pole, voltage drop can occur if wire gauges are undersized. Measure AC voltage right at the fixture junction box while the entire ring is powered on. If voltage drops below the driver’s rated minimum input threshold, fixtures may strobe, dim, or fail to ignite altogether.
Surge Protection Device (SPD) Isolation: Commercial high mast poles act as massive lightning rods in wide-open environments. To protect sensitive LED electronics, manufacturers install inline surge protectors upstream of the drivers. When a lightning strike or utility power surge occurs, the SPD sacrifices itself to protect the driver. If a fixture is completely dead, check whether the inline SPD indicator light has turned red or blown open, cutting power to the driver.
Thermal Stress & Heat Dissipation: High-wattage LED drivers (often 400W to 1200W per fixture) generate substantial internal heat. If dust, bird droppings, or industrial grime accumulate on driver heat sinks, internal thermal cutoffs will engage, turning the light off until it cools down. Cleaning heat sink fins during routine repairs restores proper cooling and prevents premature driver burnout.
For complex high-voltage installations, multi-phase commercial distribution panels, or full pole rewiring, partnering with certified technicians providing comprehensive lighting and electrical services ensures that all work complies strictly with the National Electrical Code (NEC).
5. Preventive Maintenance Schedules & Long-Term Facility ROI
Troubleshooting is naturally reactive—it means a key fixture has already failed, leaving a shipping lane, parking area, or athletic field in the dark. Establishing a disciplined schedule for routine high mast lighting maintenance transforms your operations from emergency firefighting to smooth, predictable asset management.
Proactive care yields massive financial savings by preventing catastrophic cable snaps, avoiding emergency crane mobilization fees, and extending luminaire operating lifespans. Commercial facility operators should adopt the following maintenance schedule:
| Maintenance Interval | Core Maintenance Tasks | Primary Operational Benefit |
|---|---|---|
| Monthly | Visual illumination night audit; photocell lens cleaning; base door lock check | Catches single-fixture outages early before dark zones impact site security |
| Semi-Annual | Winch gearbox lubrication; cable tension alignment; contactor points check | Prevents mechanical cable jams and avoids electrical contactor pitting |
| Annual | Full lowering cycle; torque-test anchor bolts; lens washing; SPD health audit | Mitigates wind-shear fatigue, prevents rust, and restores maximum footcandle output |
Environmental conditions like salt fog in South Florida coastal regions severely accelerate metal oxidation and cable pitting. Reviewing specialized guides on common issues with outdoor pole lighting and their solutions helps facility directors identify early signs of corrosion and moisture damage before structural failure occurs.
PROACTIVE MAINTENANCE FINANCIAL RETURN
Commercial properties implementing semi-annual high mast maintenance programs report up to an 82% reduction in off-hours emergency service calls. Planned driver replacements executed during routine lowering cycles cost roughly 60% less than emergency call-outs requiring specialized heavy boom lifts.
You now possess more practical knowledge about high mast lowering assemblies, cable mechanics, and driver diagnostics than 99% of facility owners—a fact that is admittedly useless at neighborhood barbecues, but priceless when keeping an industrial complex lit, safe, and profitable.
6. Frequently Asked Questions
Q: How often should high mast light pole structural anchor bolts be inspected?
A: Anchor bolts and base plate welds should undergo visual inspection and torque testing at least once a year. In coastal or hurricane-prone areas, scheduled semi-annual inspections are strongly recommended to detect wind-shear stress early.
Q: Can I retrofit existing high mast fixtures to LED without modifying the lowering mechanism?
A: Yes! Retrofitting metal halide fixtures with modern LED floodlights is highly effective. However, you must carefully verify that the total weight and Effective Projected Area (EPA/wind load) of the new LED fixtures do not exceed the weight and wind capacities of the existing head frame and winch cables.
Q: What causes a high mast lowering ring to stick or travel crookedly during operation?
A: Uneven cable tension, damaged guide rollers, worn cable sheaves, or heavy wind gusts pushing the ring against the pole barrel are common causes. Stop the winch immediately if binding occurs, and reverse direction slightly to realign rollers before continuing.
Q: How do I know if an unlit high mast fixture has a bad driver versus a dead LED array?
A: Lower the ring and measure the DC voltage output from the driver while power is supplied. If AC power enters the driver but zero DC voltage exits, the driver is dead. If correct DC voltage exits the driver to the LED board but no light is produced, the LED module array contains an open circuit.